Creating and Managing Project Templates
Use the Templates panel to create, configure, and manage sets of initial project settings at the server level.
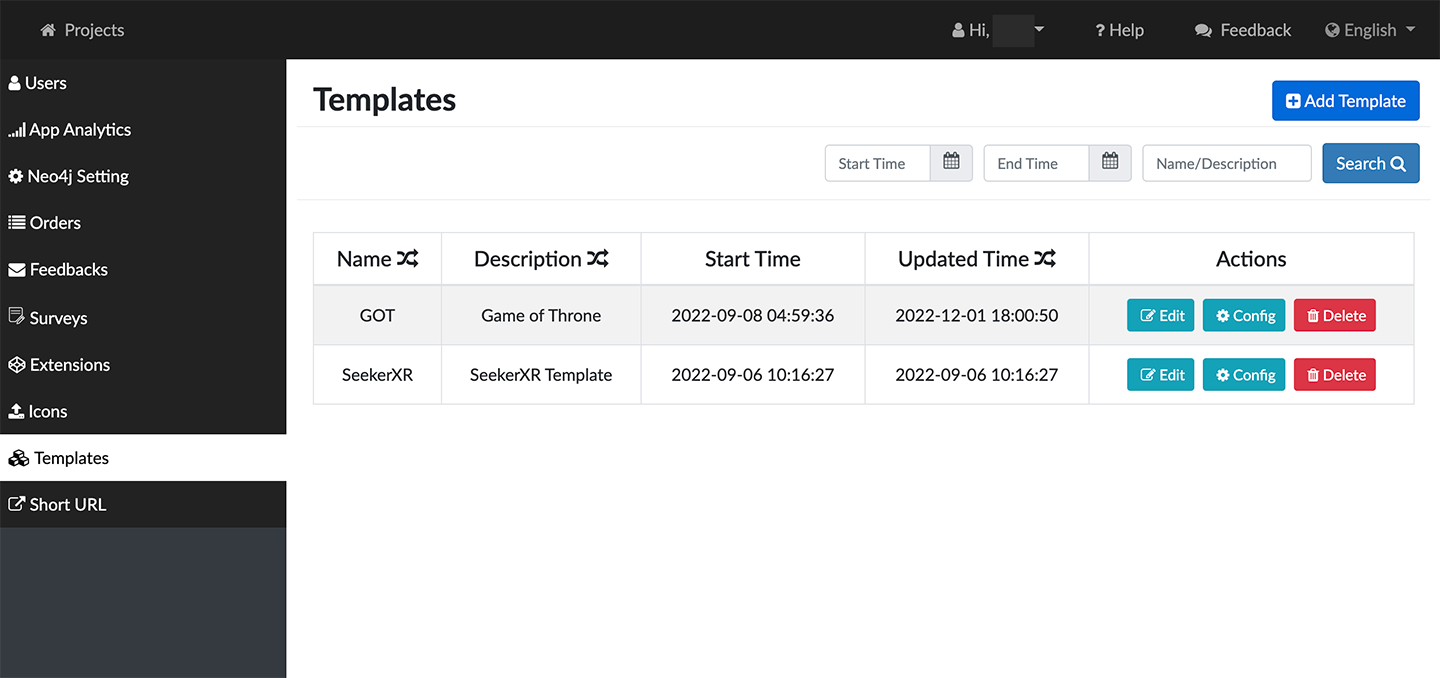
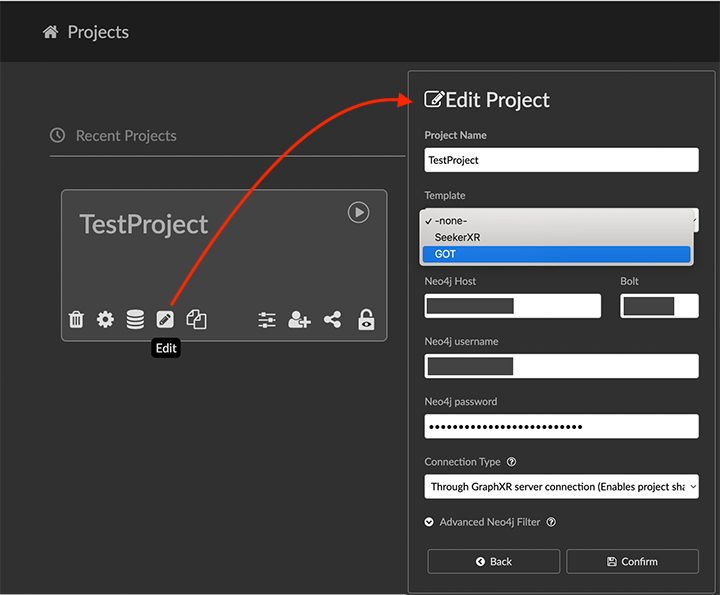
Once a template is added, general users can apply it when creating or updating a GraphXR project.
Adding or Deleting a template
You can add anew template at any time. It receives a default configuration which you can then edit.
To add a template:
Click Add Template, and provide a name and description.
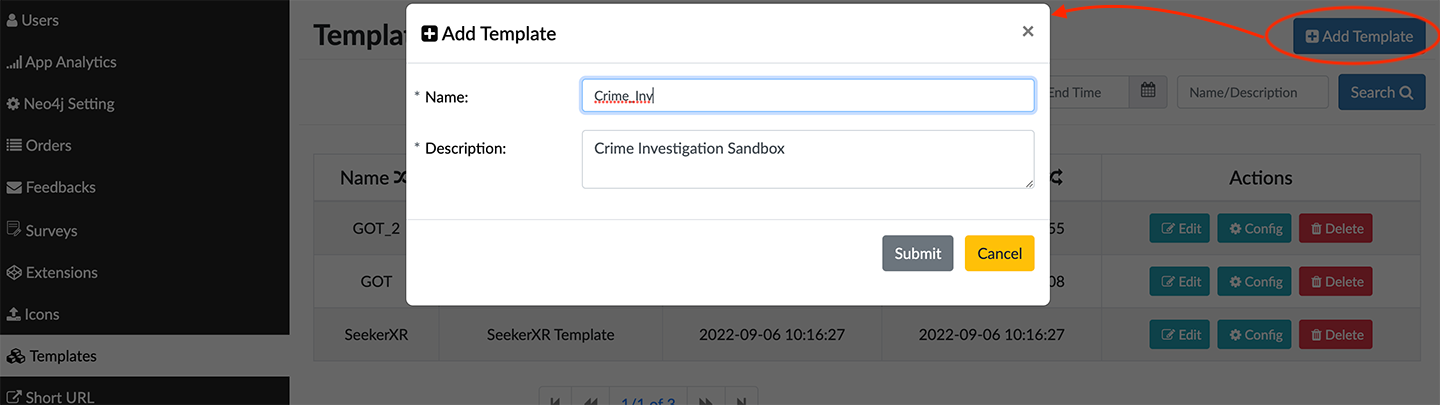
Click Submit.
The new template appears on the template list.
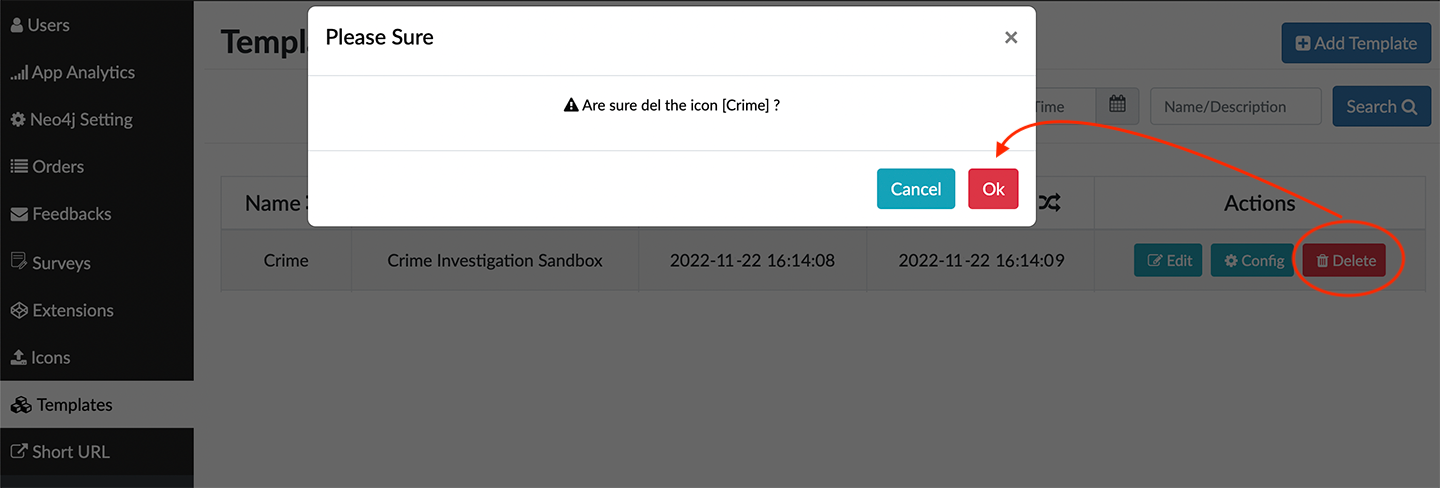
To delete a template:
Click a template’s Delete icon.
Click OK to confirm deleting the template.
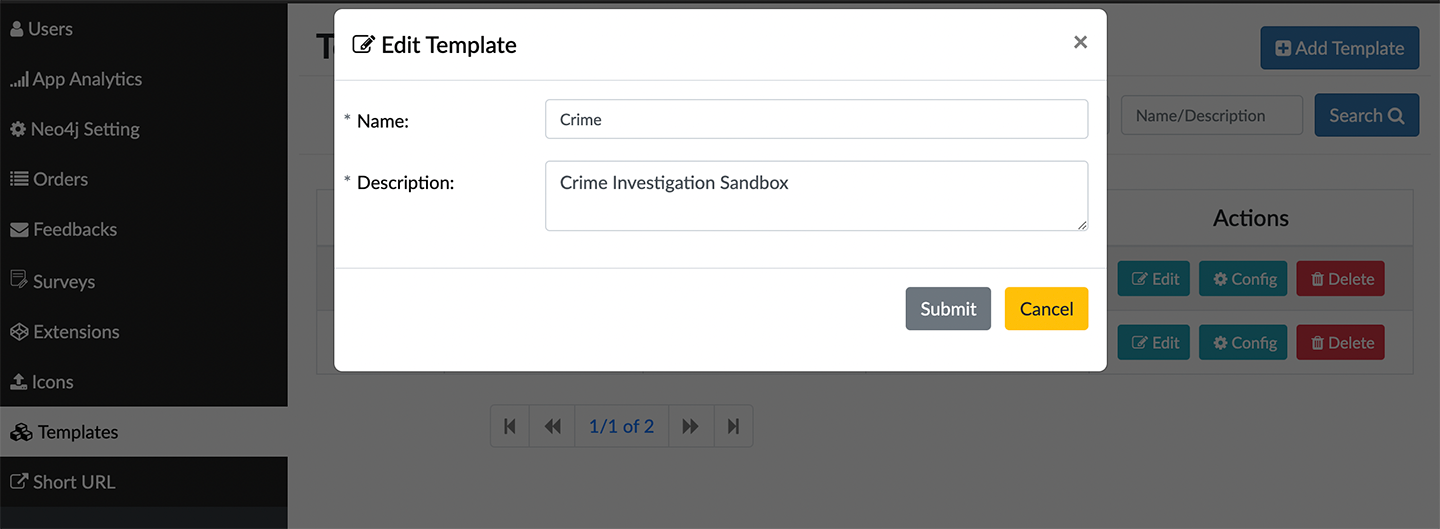
Editing or configuring a template
For any existing template, you can
Click a template’s Edit icon to change the name and description if desired.
Click a template's Config icon to configure the template. Template configuration is organized in separate tabs:

The UI Config tab lets you grant or deny access to specific UI elements. Click any element or group of elements to toggle between Visible to everyone, Visible only to Project users, and Hidden from everyone. Then click Save to save the template.
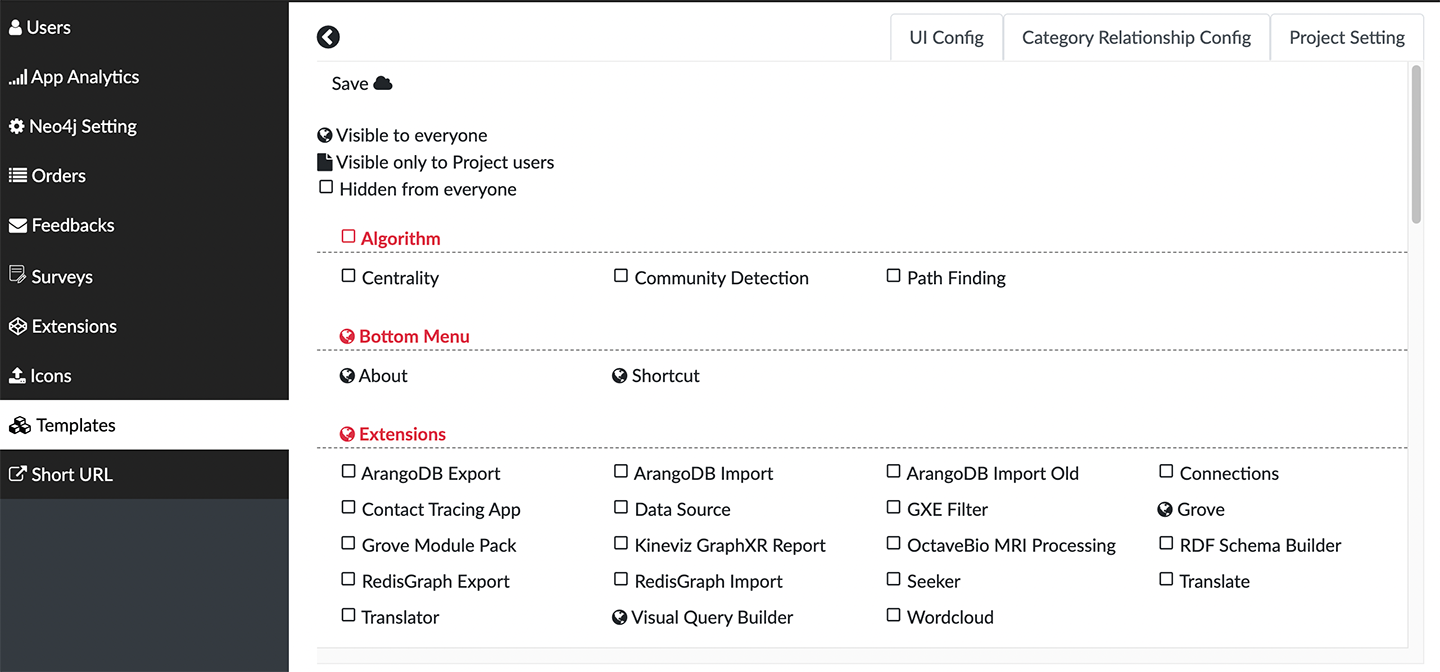
By default, extensions are found in the Extensions panel and menu, but you can click any extension to make it visible as a UI button on the left menu.
For example, with the configuration above the Algorithm panel is hidden, and the Visual Query Builder and Grove extensions are placed as icons on the left menu bar.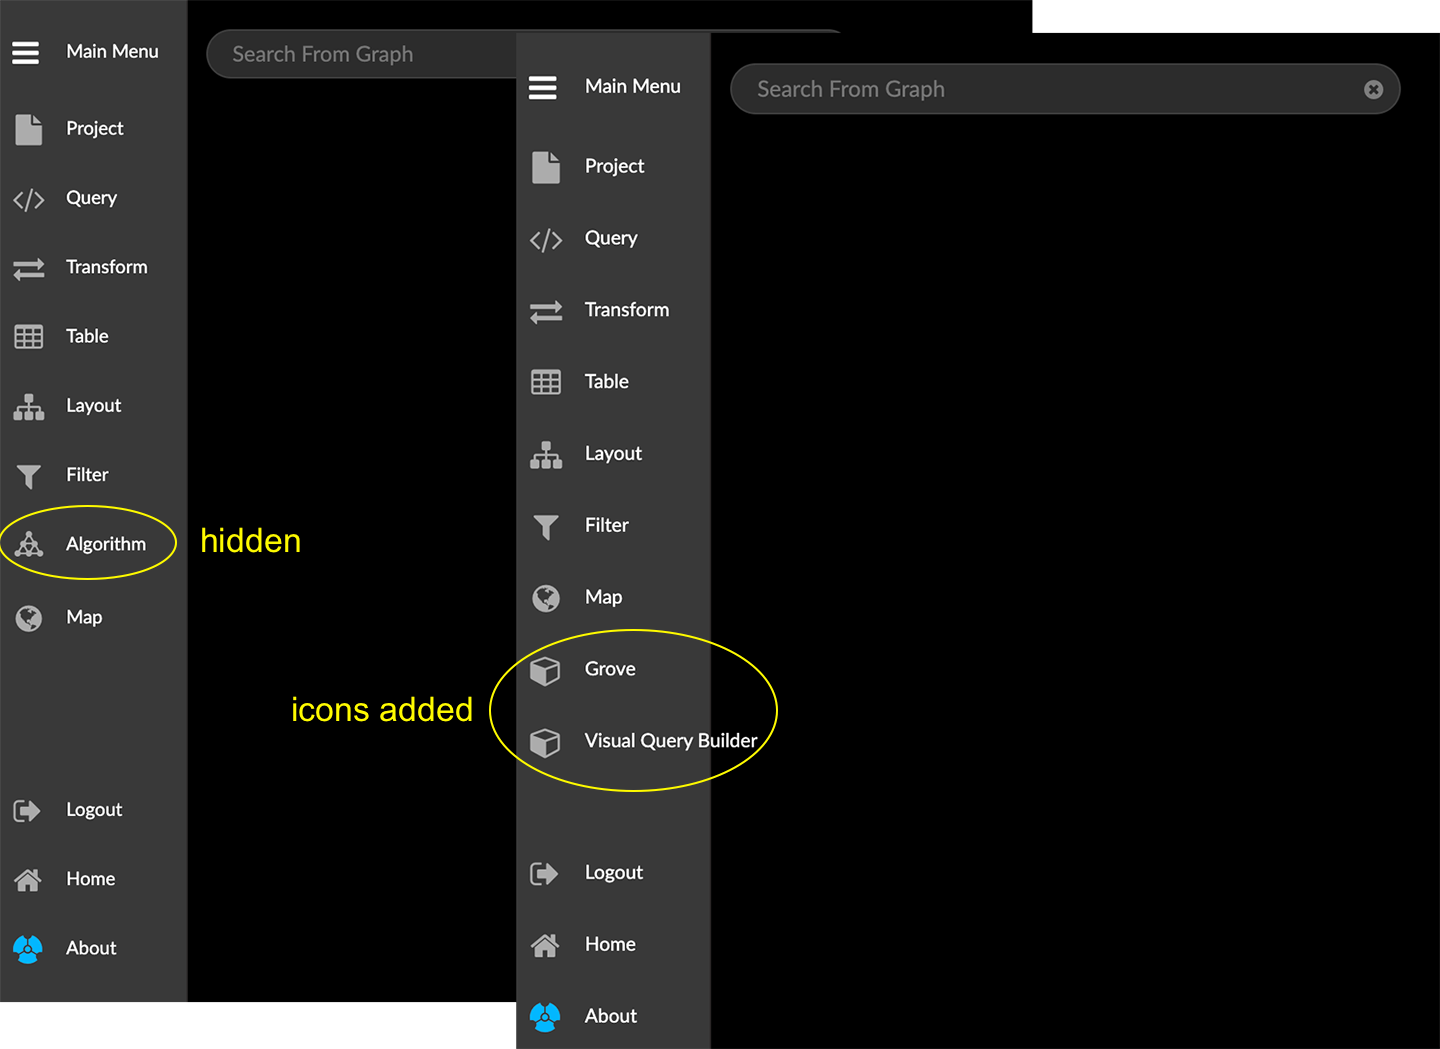
The Category Relationship Config tab lets you define styling for predefined categories and relationships.
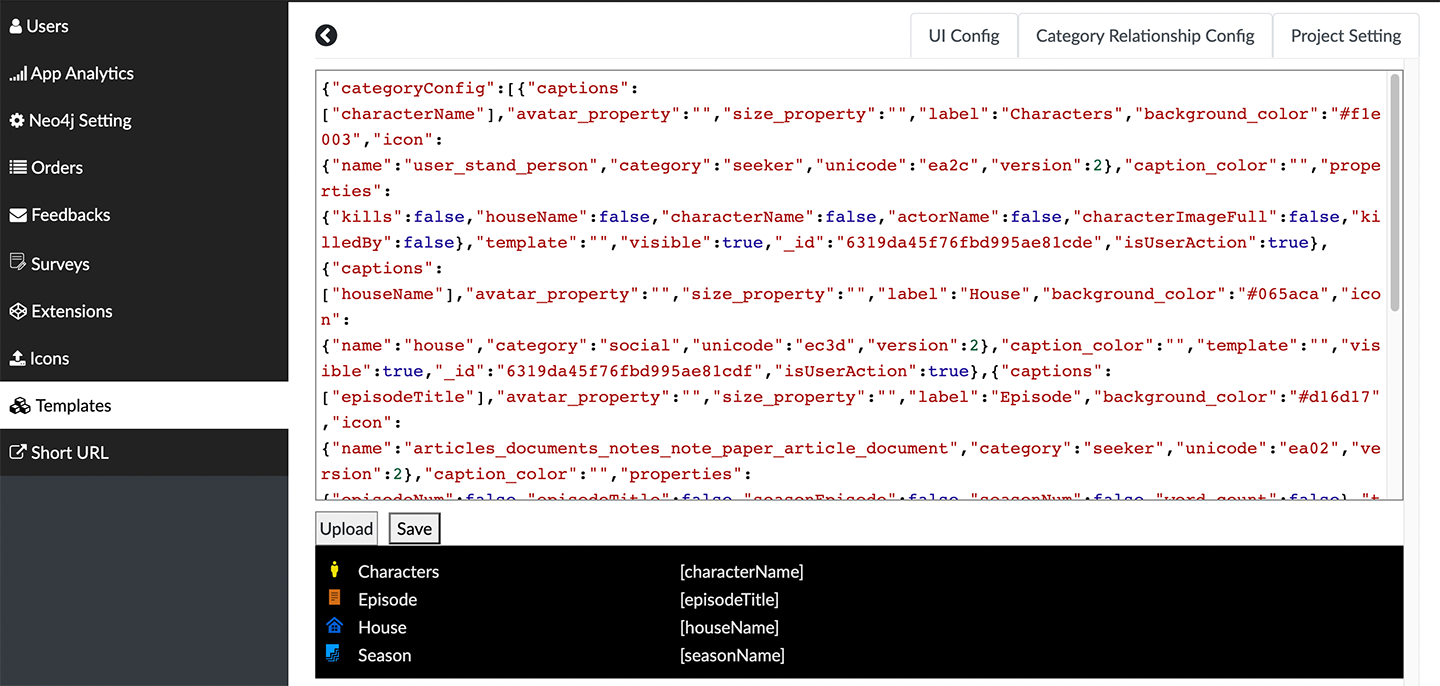
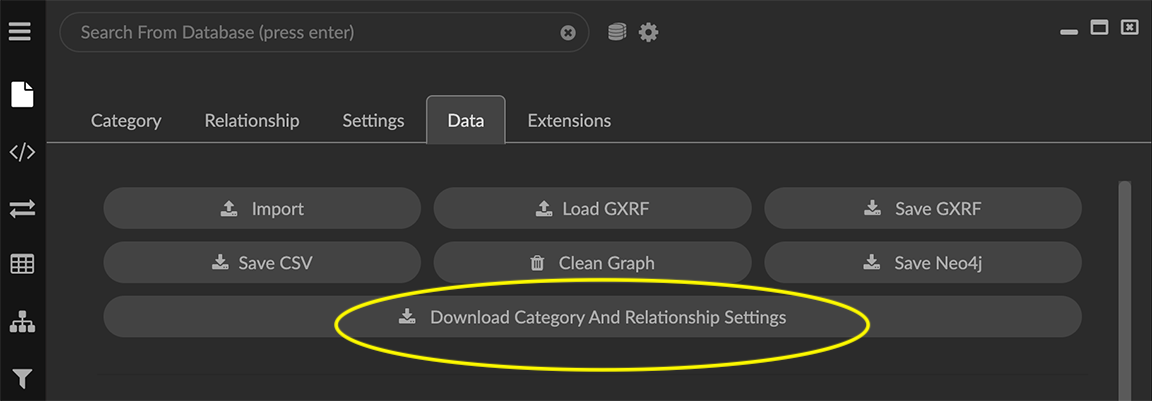
NOTE: Category and relationship settings (including color, icon, captioning, and more) can be downloaded from an existing project as a .JSON file. In the Project>Data tab, simply click the Download Category and Relationship Settings button.
Back in the Category Relationship Config tab, click Upload, navigate to the file and click to upload it to your template. If desired, you can edit the uploaded styling in the panel, then click Save to save your changes.
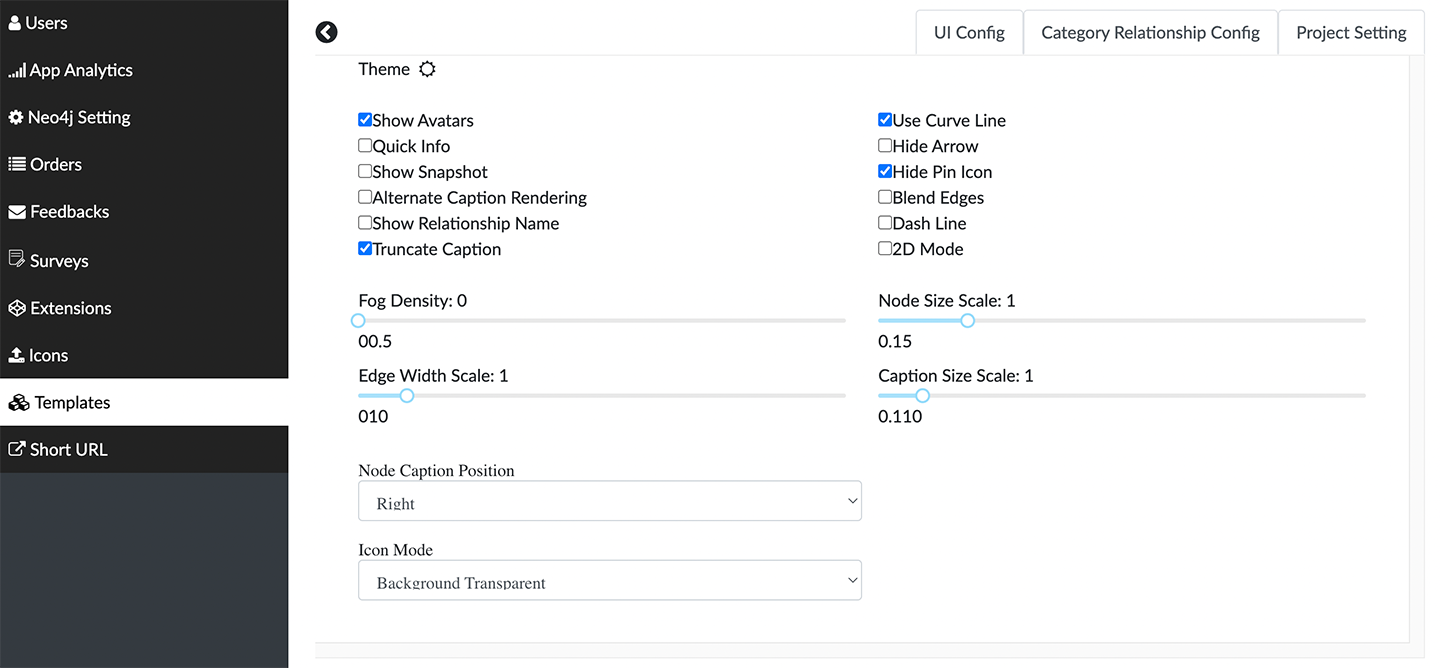
The Project Setting tab lets you choose the initial project Settings just as you would when opening a project (for example, to adjust node and edge scale, and display of captions, avatars or pin icons).